Adding a Custom Field
A method to add custom fields to forms without programming. Flexible customization to suit your business needs can be performed safely without affecting existing data.
✨ Key points of this page
- No programming required — You can add custom fields to any form at any time using only screen operations.
- No impact on existing data — Adding this will not corrupt any existing data. It allows for safe expansion.
- Reflected in reports and printouts — Added items can be used directly in report summaries and printed forms.
overview
ERPNext allows you to freely add fields that are necessary for your company's operations, in addition to the standard fields provided. This feature is called "custom fields."
For example, requests such as "I want to add the contact person's mobile number to the customer master data" or "I want to include an internal management number on the order slip" can be implemented immediately by yourselves without having to ask a system company to do it.
Screen URL:/app/custom-field
Problems that Custom Fields Solve
| Until now (traditional method) | → | From now on (ERPNext) |
|---|---|---|
| Since the necessary fields are missing, we manage them separately in Excel → Duplicate entry and transcription errors | → | Add the necessary fields directly to the form. Input is only required once. |
| Want to add an item but have to request it from a system company → Wait several weeks + cost | → | Add instantly with just a few clicks on the screen. Zero cost, zero waiting time |
| Added items cannot be included in reports | → | Added items are automatically reflected in filters, reports, and printed forms |
Overall Flow
There are two main ways to add custom fields.
| Method | Recommended situations | Estimated time |
|---|---|---|
| Method 1: Add via Form Customization | Intuitively operate by looking at the target screen and saying "I want to add it here" | Approximately 2 minutes |
| Method 2: Adding from the Custom Field List | For adding items to multiple forms at once | Approximately 3 minutes |
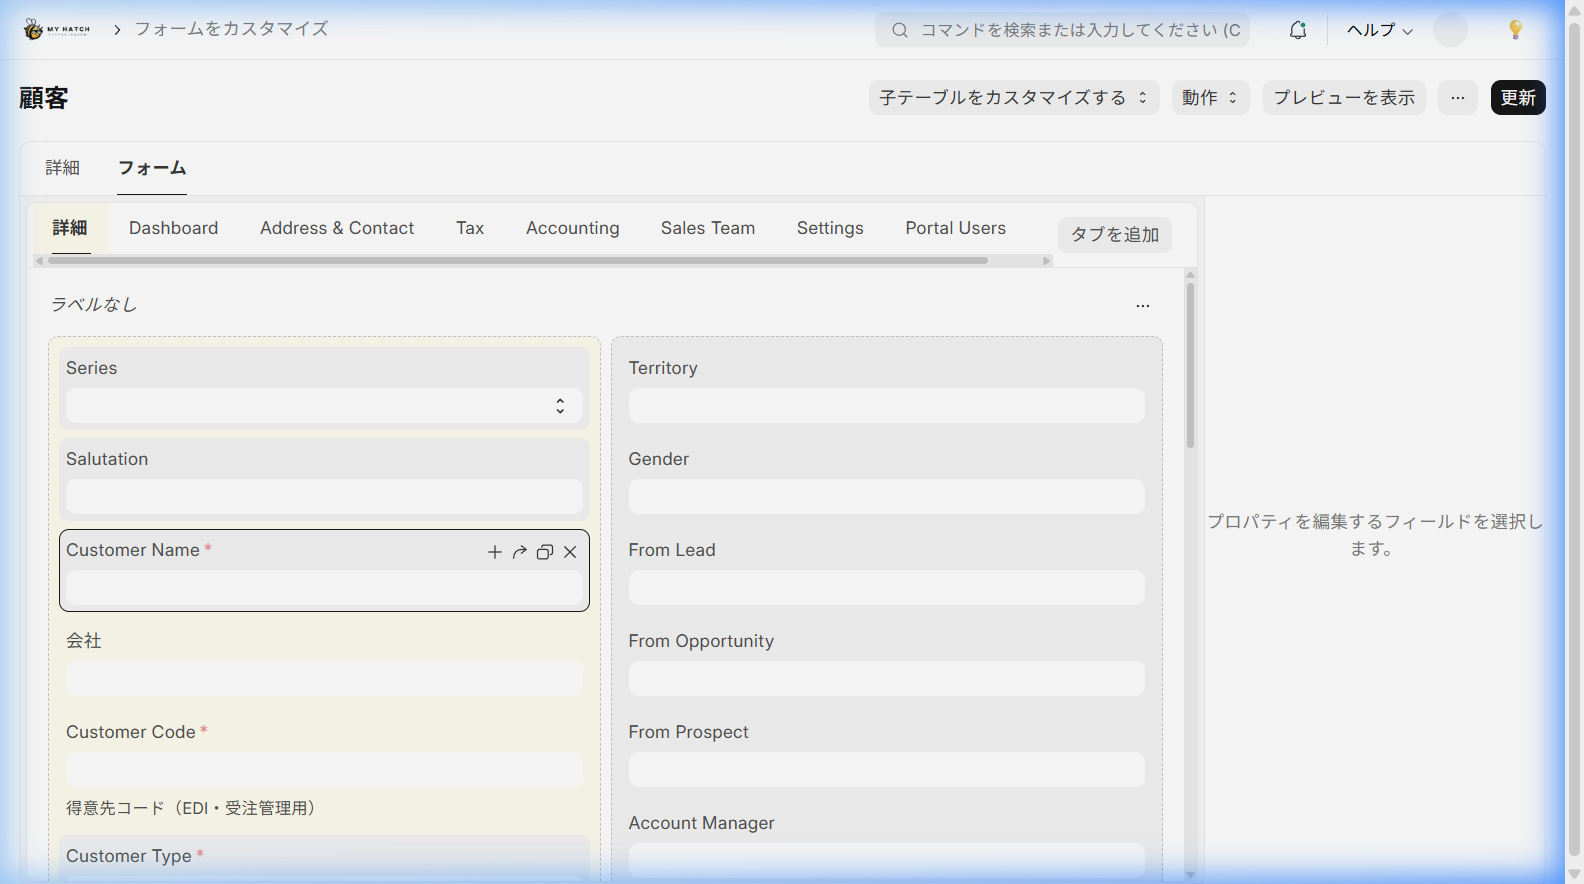
Scene 1: Adding from form customization
This is the most intuitive method. Open the screen where you want to add the item and edit it directly.
Things to do
- The screen on which you want to add an item (e.g., Customer Master)
/app/customer) Open - Click the "... (Menu)" in the upper right corner of the screen → "Customize".
- The "Customize Form" screen opens. The "Form" tab displays a list of fields.
- Place the cursor over the field where you want to add the item, and click the "+" icon that appears.
- In the properties panel on the right, enter the following:
| Item | Description | Example Input |
|---|---|---|
| Display Name | The name of the item displayed on the screen | 担当者携帯番号 |
| Field Type | Input Format (See Type List below) | データ (Text) |
| Required | Whether to make this input required | Unchecked |
| Description | Supplementary explanation displayed below the item | 緊急連絡用 |
- Click "Update"
Before / After
| Before | After |
|---|---|
| Customer mobile phone numbers are managed separately in Excel | A "Contact Person's Mobile Phone Number" column has been added to the customer master, allowing for centralized management |
| Create a request form to the IT department to add an item | Add it yourself in 2 minutes. No request needed. |
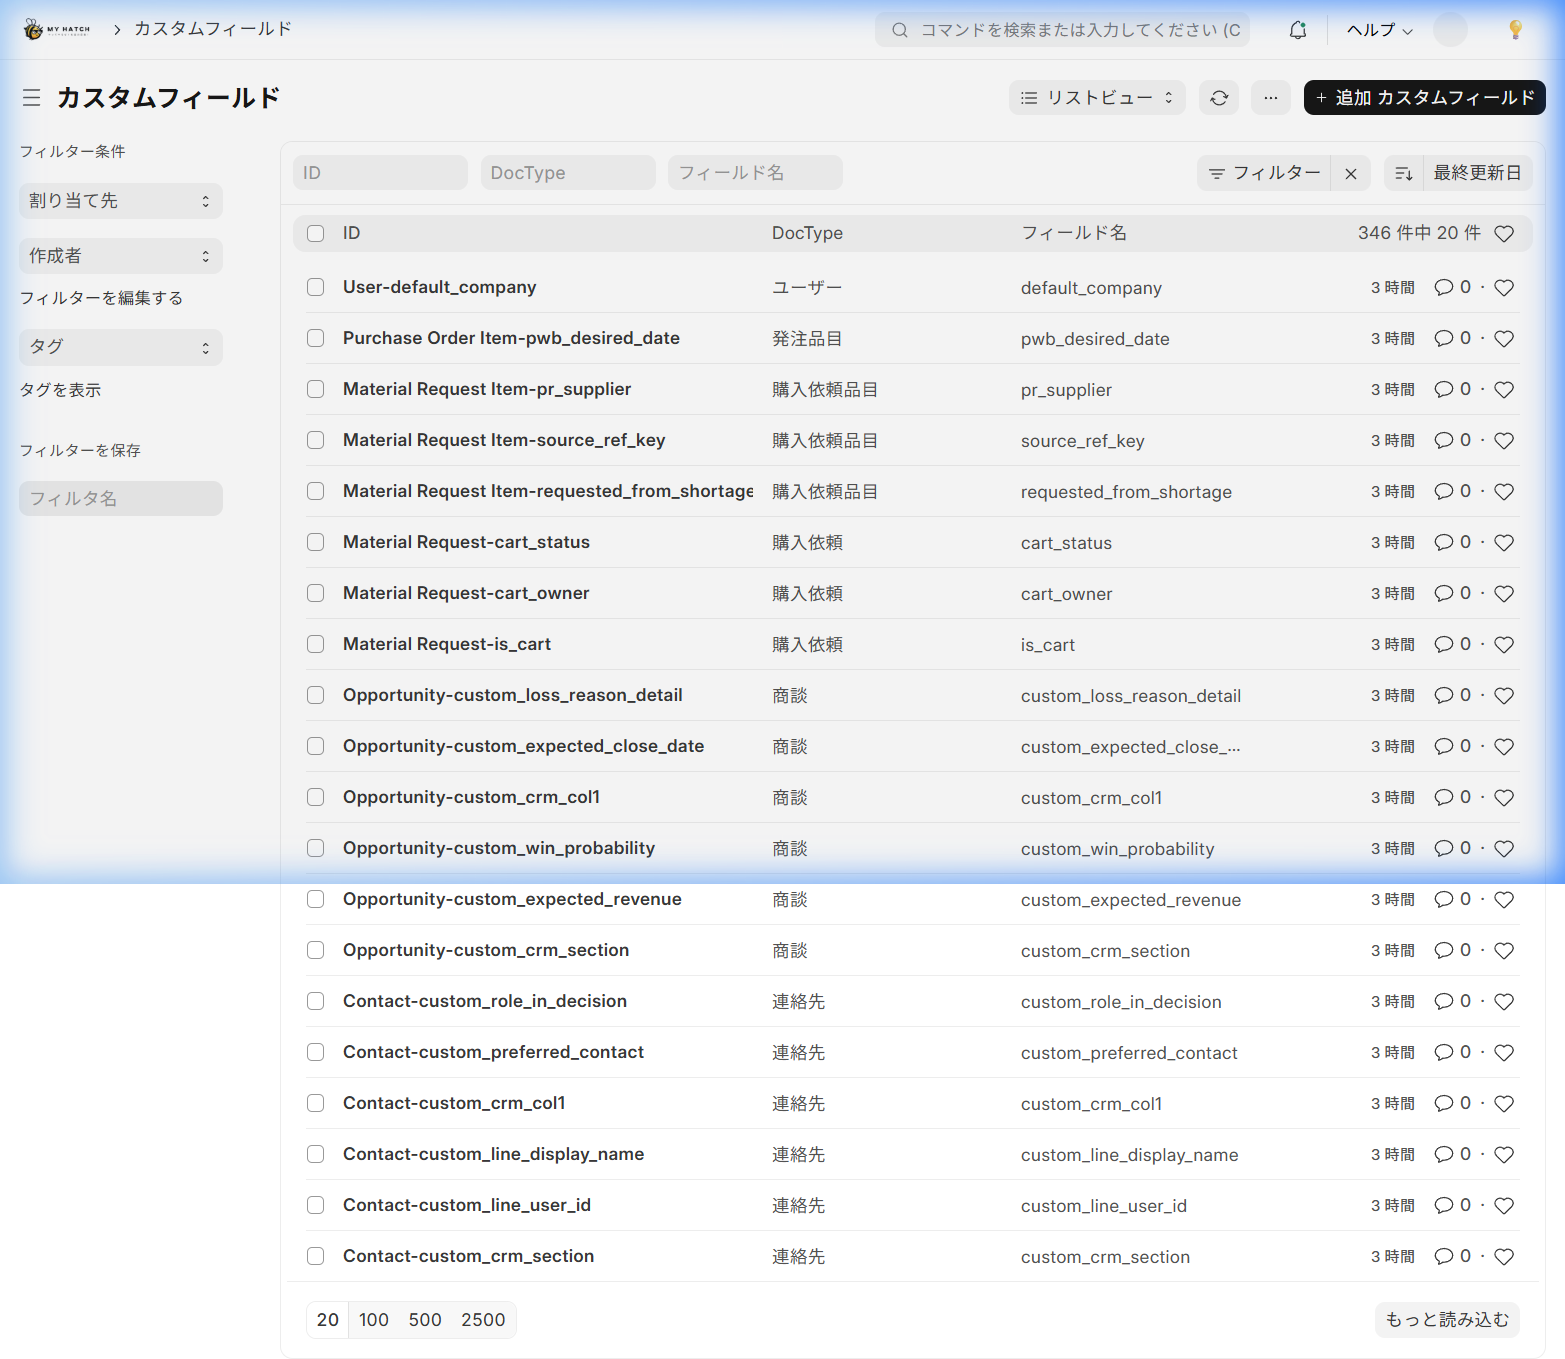
Scene 2: Adding from the custom field list
If you want to add items to multiple forms at once, it's convenient to do so from the custom field list.
Screen URL:/app/custom-field

Things to do
- Enter "Custom Fields" into the search bar (the general search bar).
- A list of custom fields will be displayed.
- Click the "+ Add Custom Field" button.
- Enter the following:
| Item | Description | Example Input |
|---|---|---|
| DocType | Which form to add it to | Customer (Customer) |
| Display Name | The name of the item displayed on the screen | 社内管理コード |
| Insert After | Which item should it appear after? | customer_name |
| Field Type | Input Format | データ (Text) |
- Click "Save". When you open the target document, the new item will be displayed.
Scene 3: Using different field types
Choose the most suitable field type based on the items you want to add.
| Field Type | Application | Usage Examples |
|---|---|---|
| Data (text) | Short text (1 line) | Management code, phone number |
| Text (Multi-line text) | Long sentence | Remarks, special notes |
| Select (Options) | Choose from fixed options | Priority (High/Medium/Low), Category |
| Link | Refer to data from other reports | Responsible Person (Link to User) |
| Date | Enter date | Contract start date, expiration date |
| Currency (Amount) | Amount Input (with currency) | Credit Limit, Special Rate |
| Check | Yes/No (2 choices) | VIP customer flag, Caution flag |
| Int (Integer) | Numeric input | Number of times, Quantity |
| Attach | File Attachment | Contract PDF, Photos |
| Section Break | Section break (heading) | Used to group items |
| Column Break | Column separator | Adjust horizontal layout |
Tips
- Item names can be in Japanese: Labels can be entered in Japanese. Please give them names that are easy for employees to understand.
- Can be changed later: You can change the label, toggle between required and optional, and move its display position at any time.
- Added to printed forms: The added fields are Form customization (Print Format) It can also be displayed on printed forms.
- Summary in Report: Added items can be used in filters and columns in the report builder. Excel export is also available.
- Safe Deletion: Unnecessary items can be deleted from the custom field list (the corresponding column in the historical data will be left empty).
📌 Summary of this article
- Custom fields are a system that allows you to add your own unique items to forms using only screen operations and without any programming.
- The added items will not affect existing data and will be automatically reflected in reports and printed forms.
- Adding it from the form customization screen takes approximately 2 minutes. You can respond immediately to changes in your business operations.