Setting up demand forecasts
This guide explains how to use the management screen, which consists of four sections: ICS Hub Integration, Lead Time, Prophet Demand Forecasting, and EC Demand Forecasting. It covers setting up the demand forecasting platform for administrators and sales planning personnel.
Related Articles The entire prediction mechanism is Demand forecasting (AI) Monthly overview is Demand calendar Visualization of accuracy is Prediction Accuracy Dashboard See below. This article describes the settings screen for administrators/sales planning. For daily operations, other articles will suffice.
What you can do on this screen
The demand forecast settings are the fundamental settings screen of the demand forecasting system. There is only one settings record in the entire system, and it manages the following four elements together.
- ICS Hub Integration: Importing external calendars (Rakuten SALE / year-end gift information, etc.)
- Lead Time Setting: Standard number of days for manufacturing/shipping/raw material procurement
- Prophet Demand Forecast: Enable long-term forecasts (default 90 days ahead) and target product groups.
- EC Demand Forecasting: Enabling and tuning short-term forecasts for e-commerce channels.
Screen URL:/app/demand-intelligence-settings
Use it in these situations
- Rewrite the ICS Hub URL for production use during initial deployment.
- Enable Prophet Demand Forecasting (default is disabled)
- Set a company-wide standard lead time for manufacturing, shipping, and raw material procurement.
- Adjust the Automatic Tuning Threshold (MAPE) of e-commerce forecasts to match your company's actual situation.
- Narrow down the product group to be predicted.
Overall view of the screen
The screen is divided into four sections. Some fields are displayed conditionally, so checking the box will automatically reveal related items.
| # | Section | Role |
|---|---|---|
| 1 | ICS Hub Integration | External Calendar URL & Automatic Synchronization Settings |
| 2 | Lead Time Setting | Standard days for manufacturing/shipping/raw material procurement |
| 3 | Prophet Demand Forecasting | Enabling Long-Term Forecasts and Target Product Groups |
| 4 | E-commerce Demand Forecasting | Short-term forecasting and automated tuning for e-commerce channels |
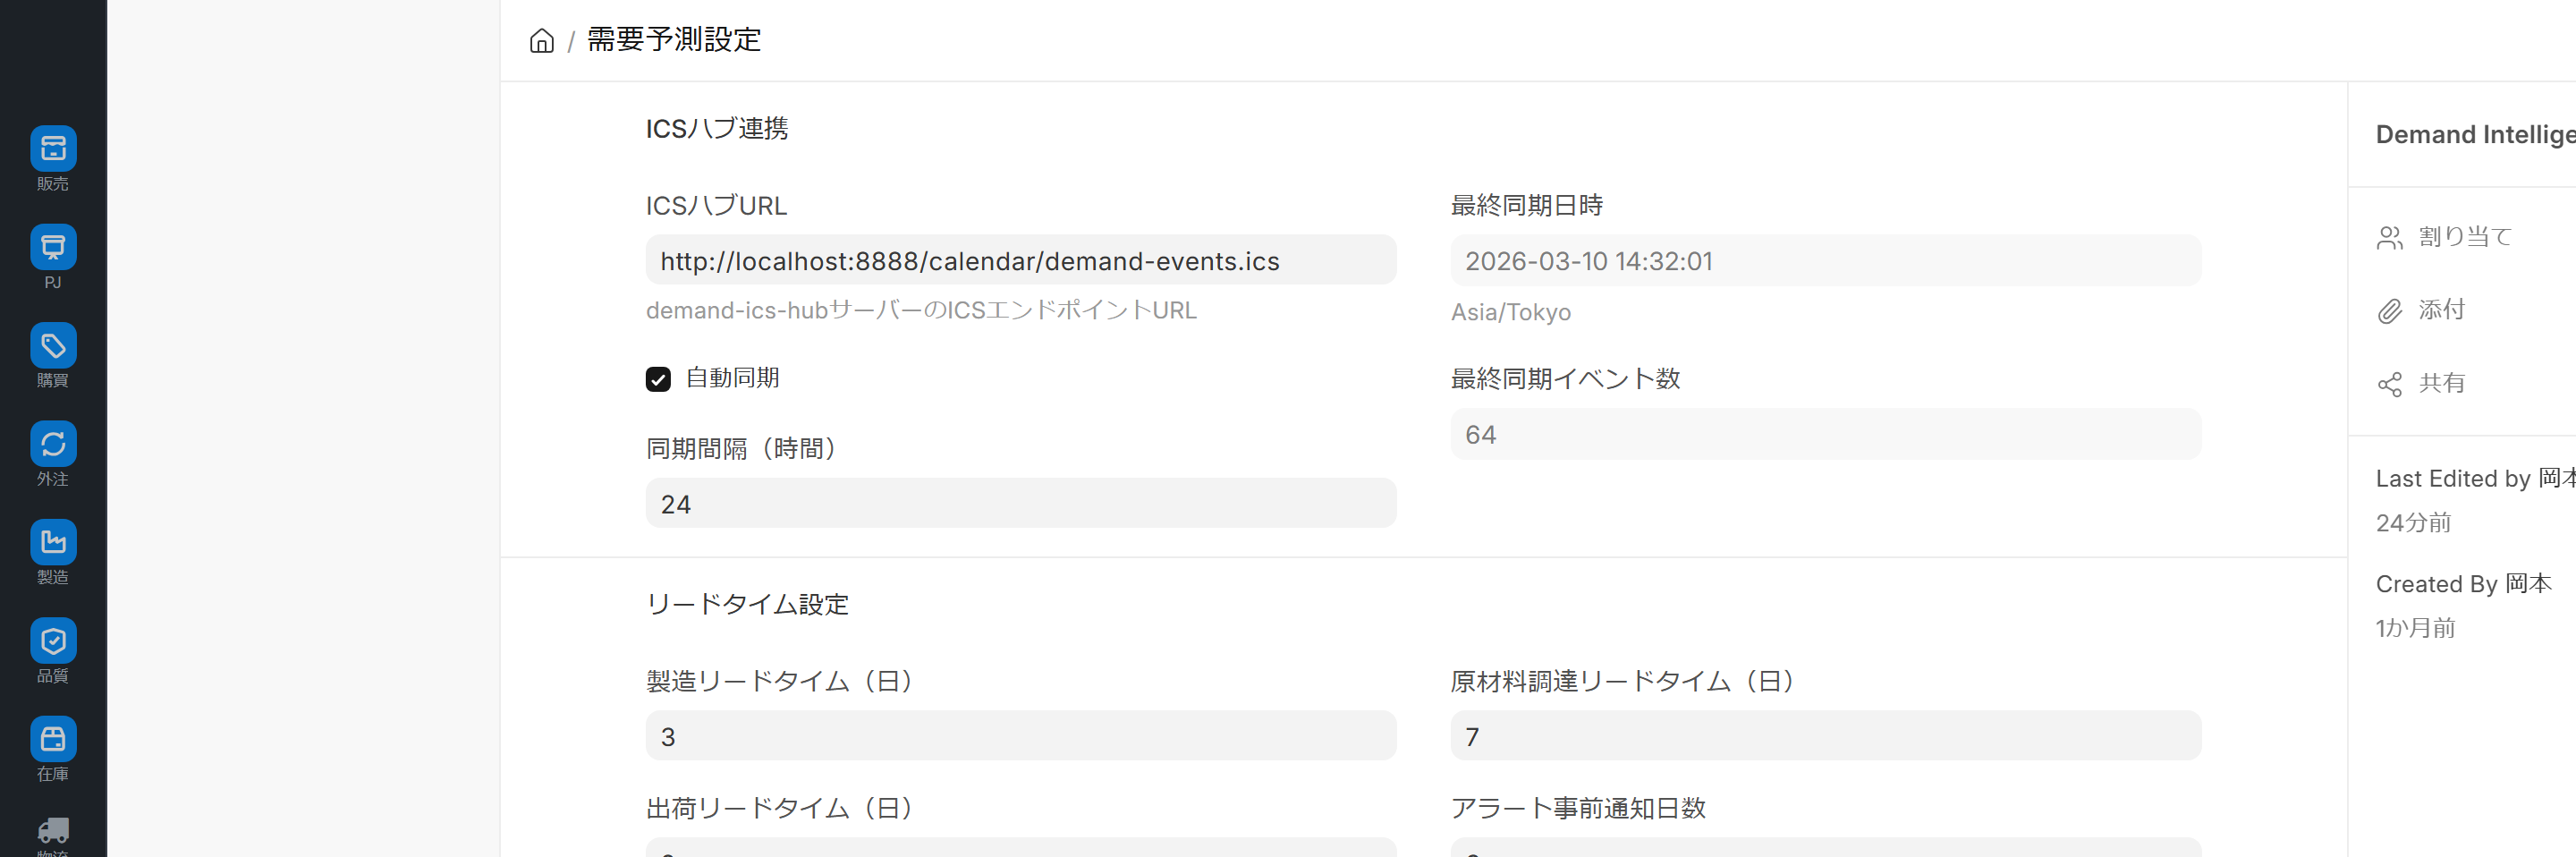
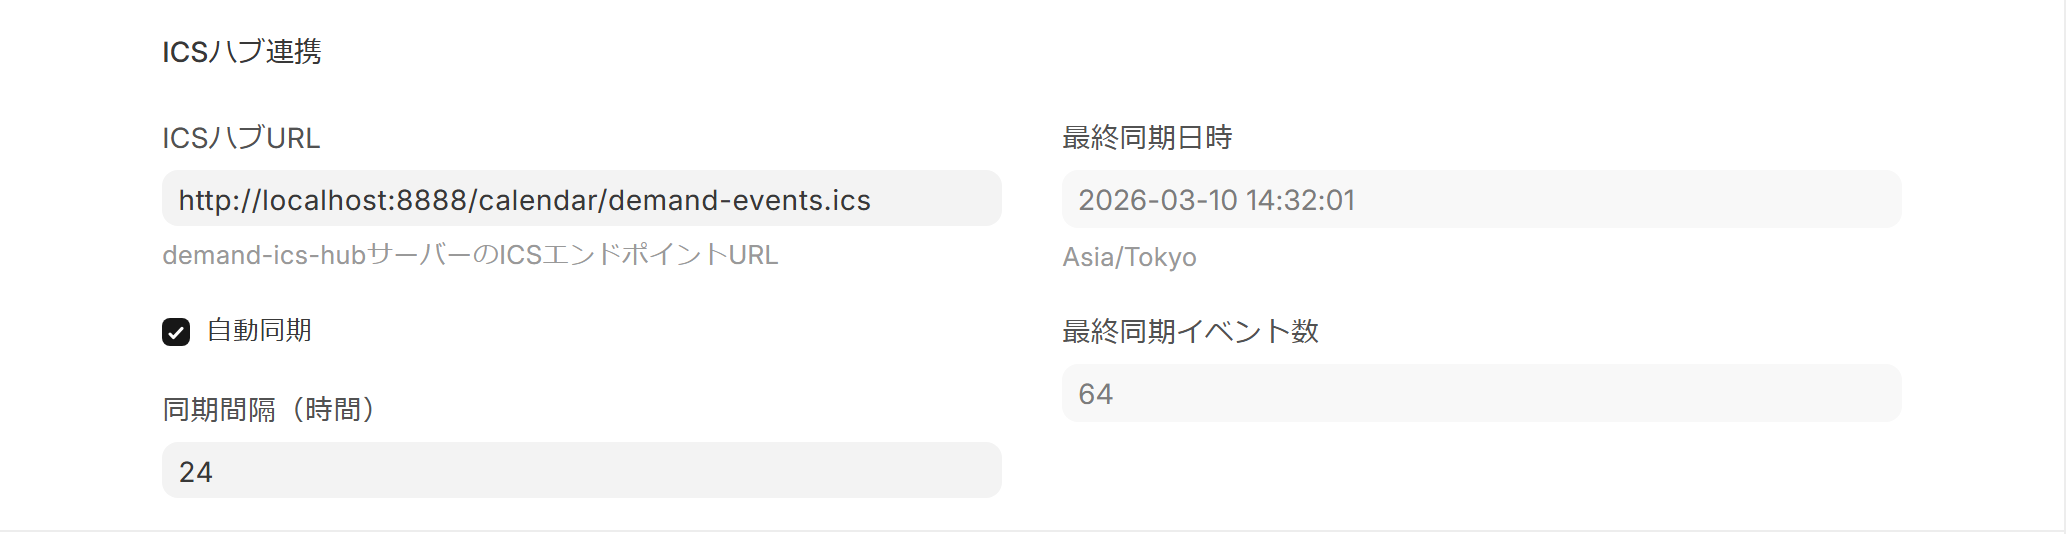
Section 1: ICS Hub Integration
Import external ICS calendar feeds (Rakuten SALE / year-end gifts, etc.), Demand calendar These are the settings to apply them.
| Item | Content | Default Value |
|---|---|---|
| ICS Hub URL | Destination URL | http://localhost:8000/calendar/demand-events.ics |
| Automatic Sync | Enable Periodic Import | Disable |
| Synchronization interval (time) | Automatic synchronization interval | 24 |
| Last Sync Date and Time | Most Recent Sync Time (Automatically Recorded) | — |
| Last Sync Event Count | Most Recent Retrieval Count (Automatically Recorded) | — |
- The "Sync Interval" is only displayed when "Automatic Sync" is turned ON.
- Initial value
localhostThe URL needs to be rewritten in the production environment.
Section 2: Lead Time Settings
Lead times for manufacturing, shipping, and raw material procurement will be specified company-wide. Order progress board This value is used as the default when creating purchase requisitions.
| Item | Content | Default Value |
|---|---|---|
| Manufacturing lead time (days) | Standard number of days required for manufacturing | 3 |
| Shipping Lead Time (Days) | Standard Number of Days Required for Shipping | 2 |
| Raw material procurement lead time (days) | Standard number of days required for raw material procurement | 7 |
| Alert advance notification days | Timing of issuing a warning when the deadline is approaching | 3 |
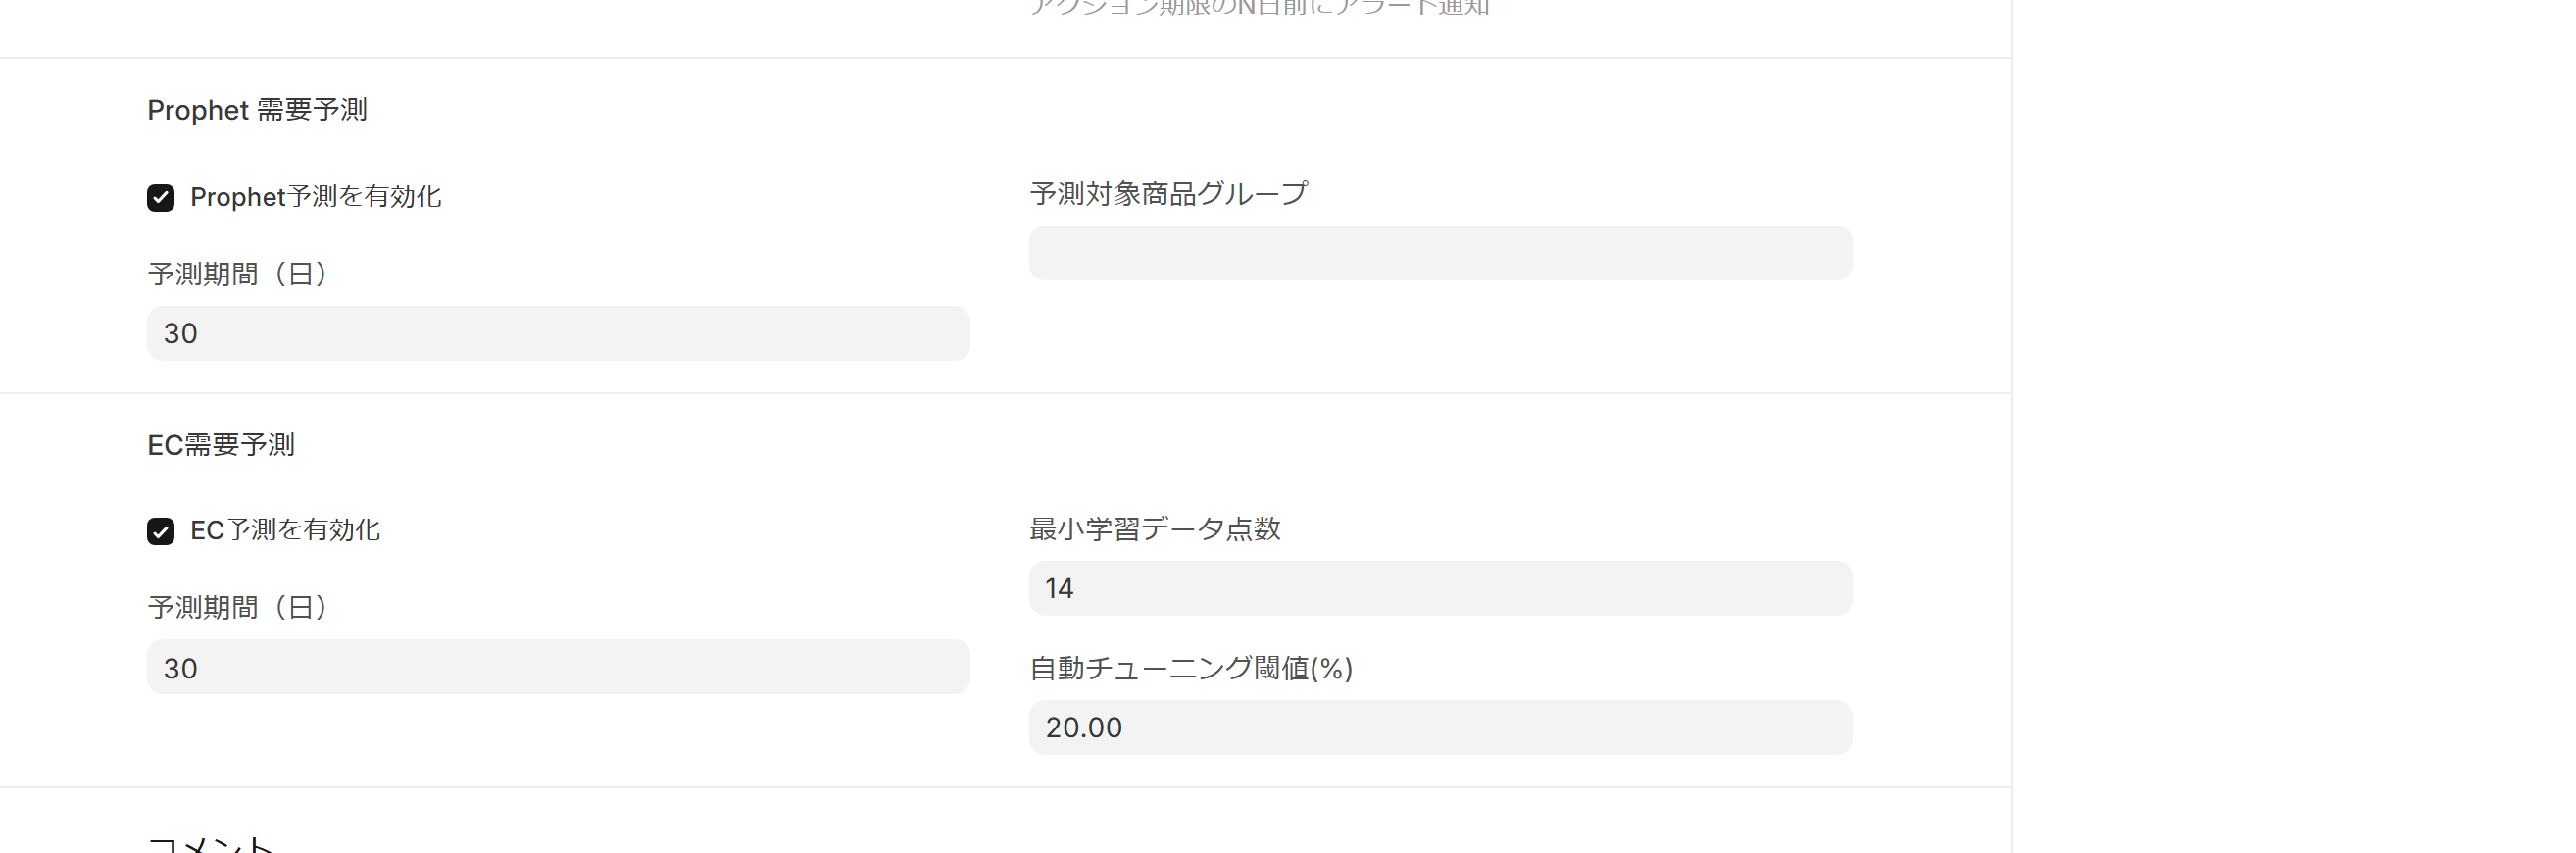
Section 3: Prophet Demand Forecasting
This controls long-term forecasting (default 90 days ahead) using Meta's Prophet library.
| Item | Content | Default Value |
|---|---|---|
| Enable Prophet forecasts | Turn long-term forecasts ON/OFF | Disable |
| Forecast Period (Days) | How many days ahead should the forecast be? | 90 |
| Product group to predict | Product group to run the prediction on | — |
- The following two items will not be displayed unless "Enable Prophet predictions" is turned ON.
- Initial activation may take several minutes to several tens of minutes to complete.
Section 4: E-commerce Demand Forecasting
We control short-term forecasts for e-commerce channels (Rakuten/Amazon/Yahoo!, etc.) independently of Prophet.
| Item | Content | Default Value |
|---|---|---|
| Enable EC forecast | Turn EC short-term forecast ON/OFF | Disable |
| Forecast Period (Days) | How many days into the future should the forecast extend? | 14 |
| Minimum training data points | Minimum number of data points required to start training | 14 |
| Auto-tuning threshold (%) | MAPE threshold for detecting accuracy degradation | 30 |
- The following three items will not be displayed unless "Enable EC forecasting" is turned ON.
- Items that exceed the threshold Prediction Accuracy Dashboard This will make it eligible for automatic tuning.
Main Operations
1. Initial Setup
- Open the screen (administrator privileges required)
- Rewrite the ICS Hub URL to the production URL.
- Turn on Automatic Sync and set the sync interval to 24 hours.
- Adjust lead time to suit your company's actual situation (e.g., manufacturing 5 days / shipping 1 day / procurement 14 days)
- Enable Prophet Forecast and specify the product group to forecast.
- Enable EC Forecast (only if you have an EC channel)
- Save
2. Annual update (beginning of April)
- Check if the ICS URL has changed.
- The results of the automatic tuning in the previous fiscal year Prediction Accuracy Dashboard Looking back
- Adjust if lead time deviates from actual results.
3. How to deal with a decrease in accuracy
1. Prediction Accuracy Dashboard Identifying items with high accuracy (MAPE) 2. Lower the automatic tuning threshold and increase the retuning frequency (e.g., 30% → 20%). 3. Increase the minimum number of training data points to improve learning stability. 4. Observe the situation for two weeks and re-evaluate.
4. Narrow down the product group to limit the prediction target.
- Specify the target group in "Product Group for Prediction".
- Only items under the relevant group will be included in Prophet's learning process.
- Removing unnecessary, low-frequency items reduces computation costs.
Linked screens
| Linked to | Role |
|---|---|
| Demand calendar | Display events retrieved from ICS hub URL |
| Prediction Accuracy Dashboard | Determine which items exceeding the threshold should be targeted for automatic tuning |
| Order Hub Forecast Mode | Raw Data for EC Demand Forecasts |
| Purchase requisition / Manufacturing order | Reference for lead time days |
| Product Group Master | Selection of Product Groups to Forecast |
authority
| Role | Permissions |
|---|---|
| System Administrator | Create, delete, email, print, read, share, write (all possible) |
| Demo Viewer | Email, Read, Share |
| Demo Operator | Email, Output, Print, Read, Share |
This does not apply to regular sales users or manufacturing managers. The permission system is designed with administrators in mind. Although this article is placed under the sales team, actual operation is typically handled by administrators.
Setting Pitfall: If custom permissions are added to this screen, the standard permission settings will be overwritten, and only the roles on the custom permission side will be active. In the demo environment, this is why even system administrators may encounter an issue where the screen is "not found". To resolve this, add the roles required for the custom permissions (Demo User Role / System Manager in the demo), clear the cache, and reload the page.
Dependent Prerequisites
- Product Group Master (Required as a selection for the product group to be predicted)
- ICS Hub Server (External feed or internal Flask server)
- Prophet (Python package, installable via conda/pip)
- Scheduler (Execution platform for automatic synchronization and automatic tuning)
Points to note in the demo environment
- Often remains at its default value (ICS URL is
localhost(Prophet/EC forecast is disabled) - Before deploying to production, be sure to review all four sections.
- After activating Prophet, the initial training will take several minutes to several tens of minutes.
- Be careful of overriding permissions with custom permissions (see "Setting Pitfalls" in the "Permissions" section).
Tips for Use
- Operate with default settings for the first 2-3 months: Wait for the automatic tuning to learn.
- Change one parameter at a time: Changing multiple parameters simultaneously makes it difficult to pinpoint the cause.
- Make it a habit to compare before and after changes using the accuracy dashboard.
- ICS URL must be HTTPS: Only HTTPS is recommended according to company regulations.
- Synchronize in moderation: Synchronizing about once a day is sufficient.
FAQ
Q: Can I directly edit the detailed parameters of Prophet?
You cannot directly edit these settings on this screen. Prophet's internal parameters are automatically adjusted by the auto-tuning function. If you want to manually set fixed values, you will need to request that the development team implement them.
Q: When will the settings changes take effect?
The changes will be reflected immediately, but they will not affect currently running predicted jobs (they will take effect from the next execution). Changes to the automatic synchronization settings will be reflected the next time the scheduler is started.
Q: How do I view the change history?
You can view the automatically accumulated change history from the version timeline (⏱ icon) in the upper right corner of the screen.
Q: What is the ICS hub URL?localhost What if we continue using it as is?
If your company's Flask server is running on the same hostlocalhost It works correctly. However, for demo environments and production settings, we recommend using an HTTPS endpoint on your internal network.
Q: Should this screen be moved to the administrator menu?
While the content is geared towards administrators, the sales planning team is often the primary operator, so for now, it's placed under the sales team and clearly labeled as "for advanced users."
Next Steps
- After setting up, view monthly overview → Demand calendar
- Review accuracy at the end of the month → Prediction Accuracy Dashboard
- The entire prediction mechanism → Demand forecasting (AI)
- Input in predictive mode → Order Hub Prediction mode