Order Hub (crossing EC/EDI/EOS/FAX/Manual/Forecast)
This order processing workbench allows you to review seven modes—EC, EDI, EOS, FAX, manual, and forecast—on a single screen. This guide explains mode switching, filtering, period presets, two-row tables, and batch operations using function keys.
Related Articles Detailed instructions for each route are EDI import / FAX Order / Individual Order Entry See below. This screen is an integrated screen that allows you to review orders across all routes, including these. Progress monitoring after receiving an order is Order progress board The overall picture of demand forecasting is Demand forecasting (AI) Please refer to the following.
What you can do on this screen
Order Hub is a workbench that allows you to view and process 7 modes of orders—EC (Rakuten/Amazon/Yahoo!/MakeShop/GoQ CSV), EDI, EOS, FAX, manual, and forecast—all on one screen.
- Orders from multiple e-commerce marketplaces are processed together first thing in the morning.
- Open EDI import logs log by log and delve deeper into order status by customer.
- Focus on visually checking only those fax orders with low reliability.
- Adjust the demand forecast values by route in a cell range.
- Cross-monitoring of orders that mix manually entered and automatically imported entries.
Screen URL:/app/ec-order-workbench
Relationship between Order Hub and Route-Specific Screens
| Input Path | Primary Input Main Screen | What You Can Do on This Screen |
|---|---|---|
| EC (API/CSV) | EC admin screen and automatic import | Filter by marketplace and shipping notification (F5) |
| EDI | EDI import | Log-level in-depth analysis (F6) |
| EOS | EOS Import (Internal Operation) | Client Filtering & Cross-Review |
| FAX | FAX Order | Transition to Trust Badge Confirmation/Quarantine Screen |
| Manual | Individual Order Entry | Cross-sectional verification of manually entered orders |
| Forecast | (Register on this screen) | Edit demand forecast by route |
| All | — | Cross-sectional view of all routes |
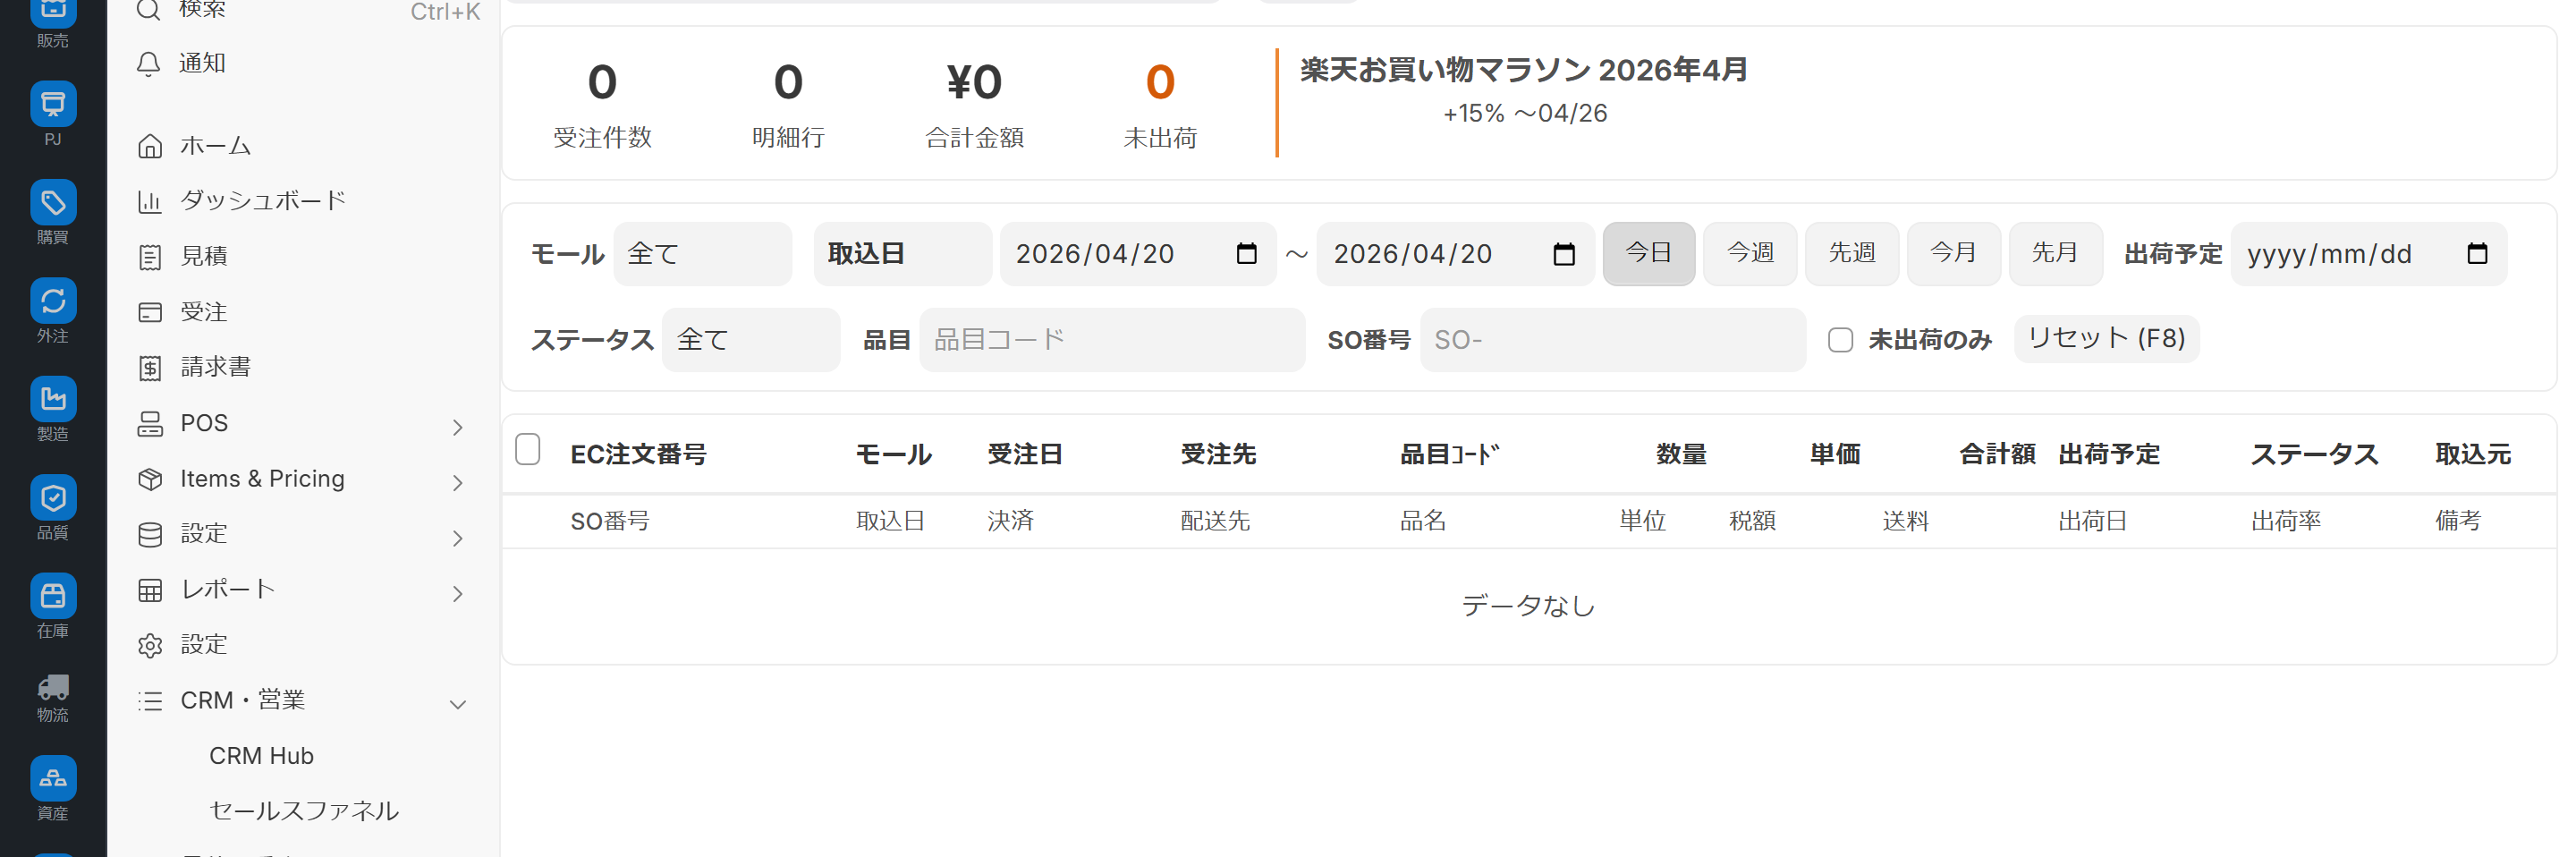
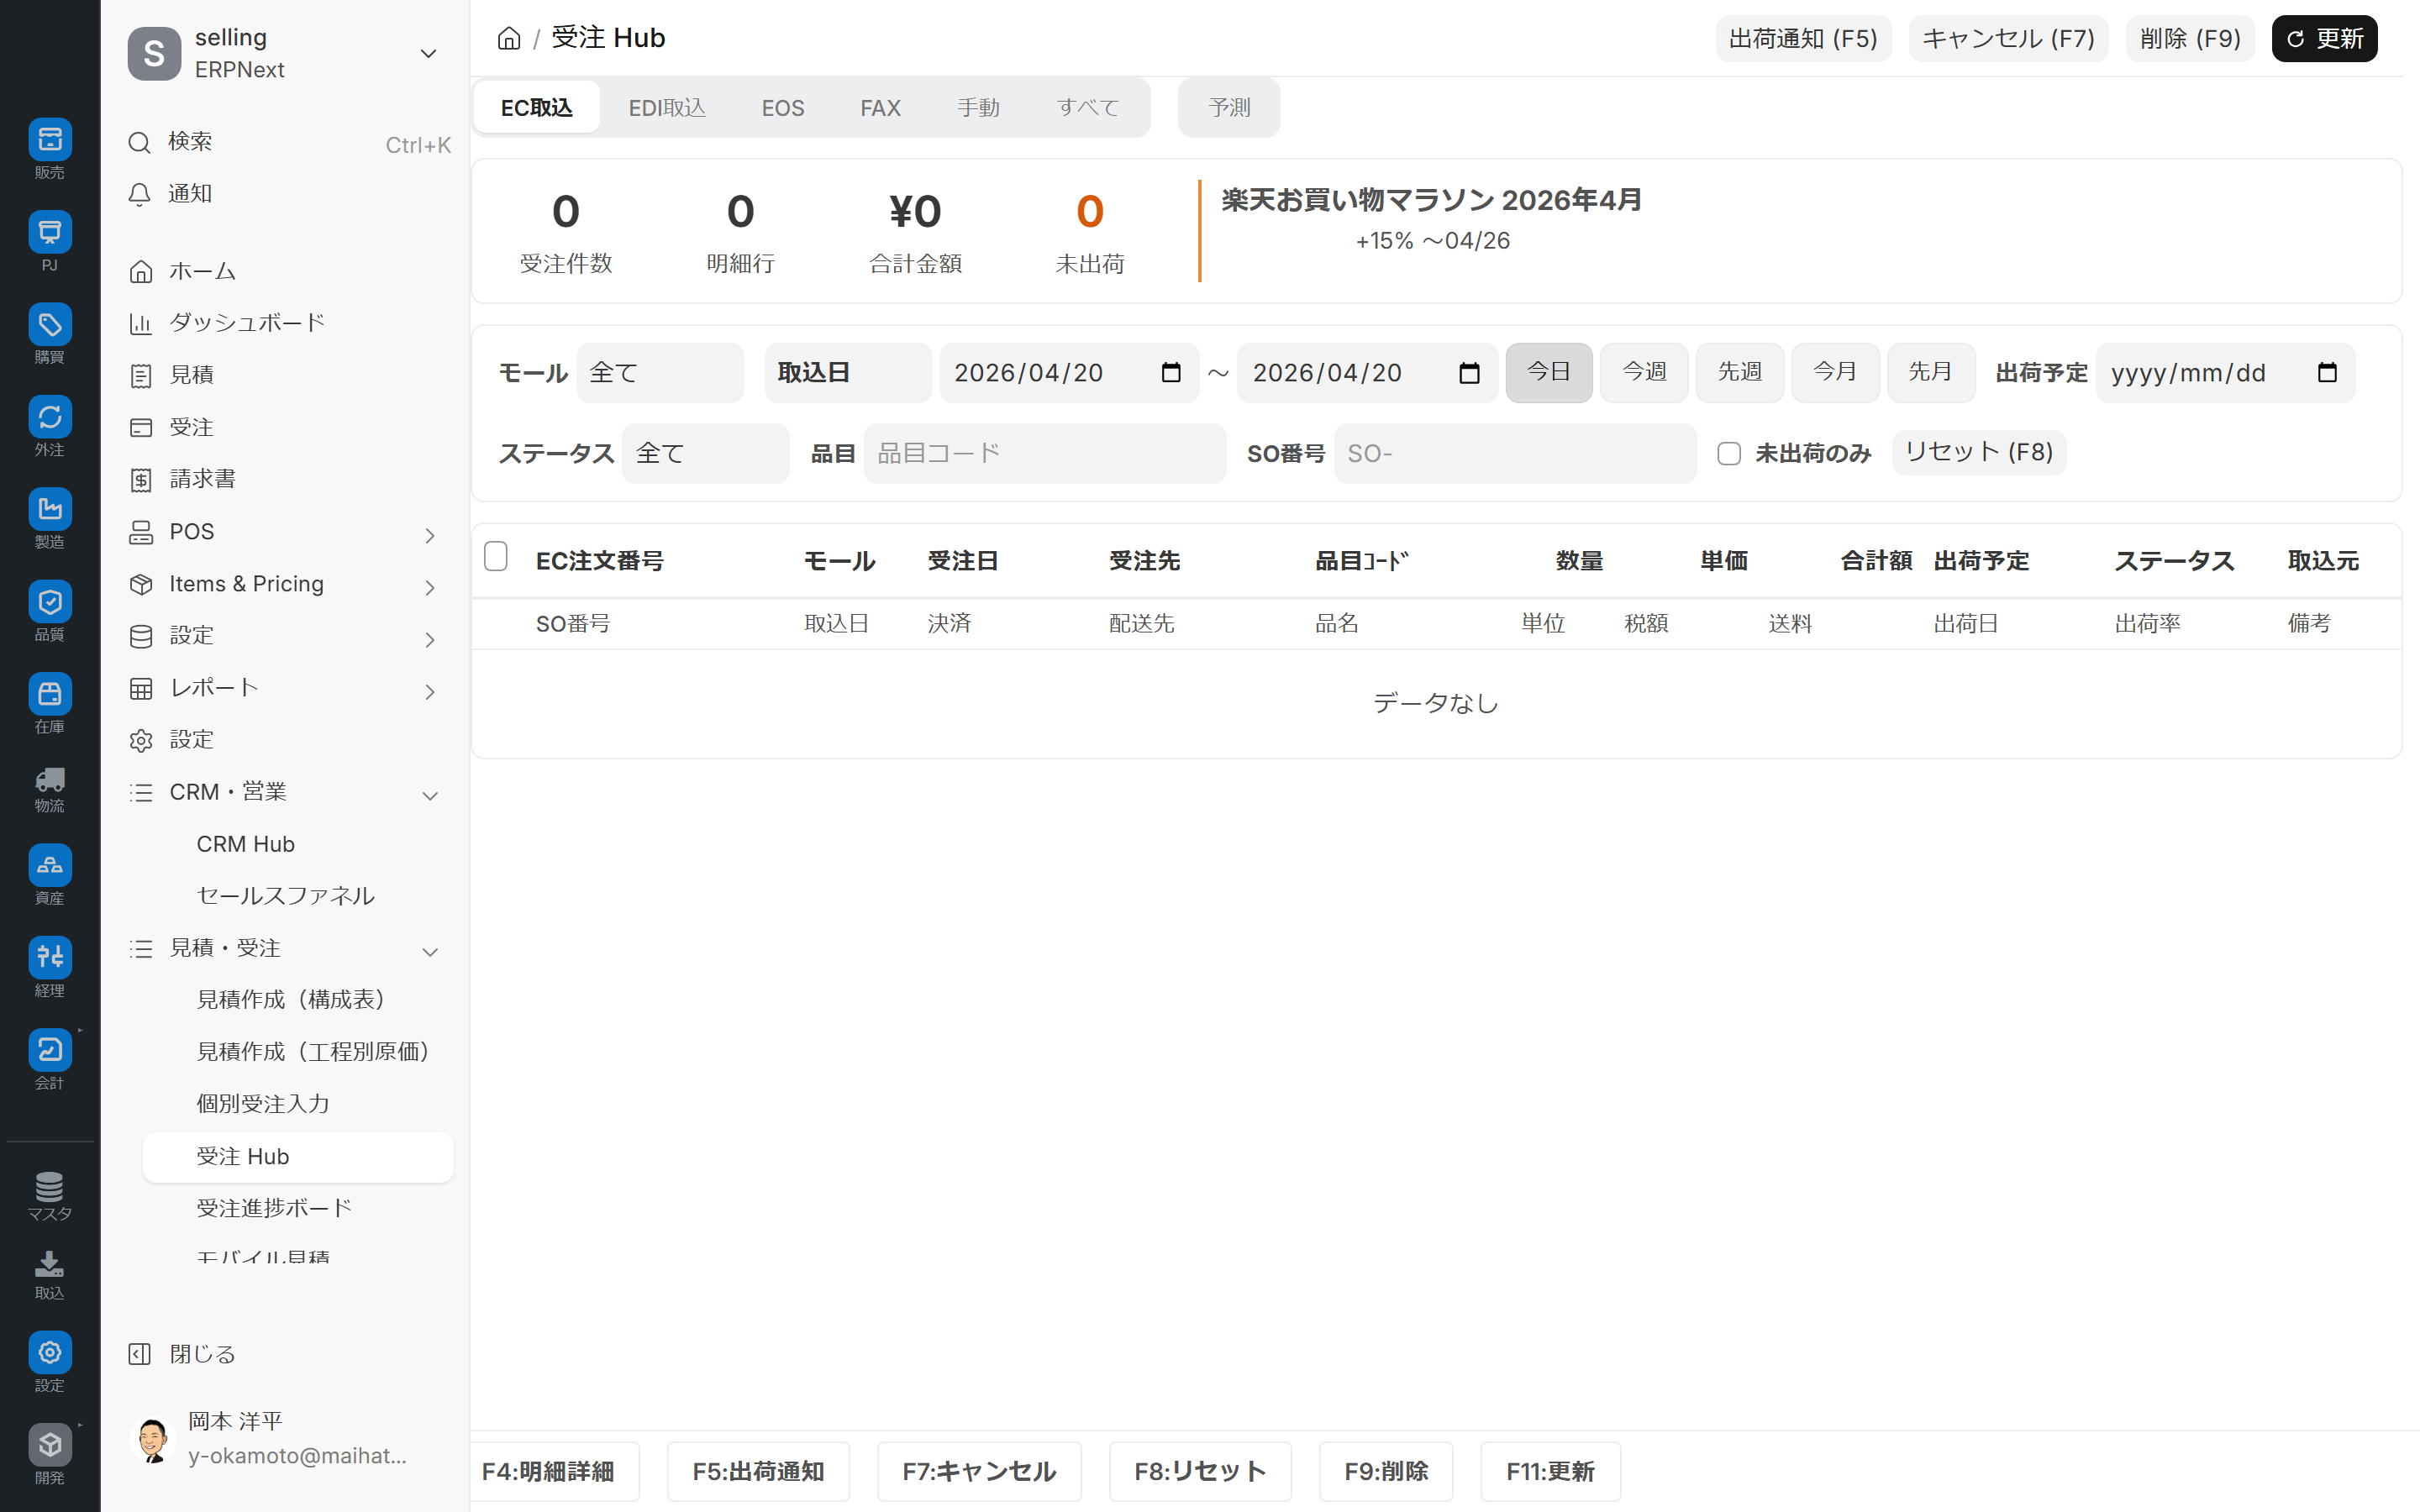
Overall view of the screen
1. Mode switching (top of screen)
- Switch between modes side by side. They are arranged in the following order: EC / EDI / EOS / FAX / Manual / All / Forecast.
| Mode | Target |
|---|---|
| EC Import | Rakuten, Amazon, Yahoo!, MakeShop, GoQ CSV |
| EDI Import | Orders with EDI files (CSV/Excel) already imported |
| EOS | Orders that have been processed and imported for EOS |
| FAX | Order created using FAX OCR |
| Manual | Manual order entry ( Individual Order Entry etc.) |
| All | Crossing the above 5 modes |
| Forecast | Demand forecast input mode |

2. Filter bar
The available filtering options change depending on the mode.
| Refine | EC | EDI | EOS | FAX | Manual | All | Forecast |
|---|---|---|---|---|---|---|---|
| Malls (Rakuten/Amazon/Yahoo!/MakeShop/GoQ) | ✅ | — | — | — | — | — | — |
| Business Partner | — | ✅ | ✅ | ✅ | — | ✅ | — |
| EDI Log | — | ✅ | — | — | — | — | — |
| Date-based (Transaction Date/Delivery Date) | ✅ | ✅ | ✅ | ✅ | ✅ | ✅ | — |
| Time Period Preset (Today/This Week/Last Week/This Month/Last Month) | ✅ | ✅ | ✅ | ✅ | ✅ | ✅ | — |
3. Log Information Bar
URL?log=EDI-LOG-XXX When opened with this option enabled, the application will launch with only the orders associated with that log filtered, and a log information bar will be displayed at the top of the screen. This is useful for individually investigating EDI import errors.
4. Summary section
The number of orders and total amount matching the selected mode and filtering criteria will always be displayed. This information is updated immediately when the mode is switched or the criteria are changed.
5. 2-row table
The order list is displayed in a two-row structure: main information row + detail row. This allows you to see the necessary information without taking up too much screen space.
- Main Information: Order Number / Customer / Amount / Status / Source
- Details: Number of items / Delivery date / Notes / Error highlighting
Select multiple items using the checkboxes on the left of the row and perform a batch operation using the function keys.
6. Operation Buttons
The displayed control keys will change depending on the mode (see the following table).
7. Demand forecasting card (only available in forecasting mode)
When you select forecast mode, a card guiding you to register your demand forecast will appear at the top of the screen.
Main Function Keys
The available keys vary depending on the mode.
| Key | Operation | Enabled Mode |
|---|---|---|
| F5 | Shipping notification (sent to the e-commerce platform) | E-commerce only |
| F6 | Open EDI log | EDI only |
| F7 | Cancel | All Modes |
| F9 | Delete | All Modes |
Caution: Pressing F5 is the operation that actually sends a shipping notification to the e-commerce external system. There is a risk that pressing it in a demo environment will actually send a notification, so please limit the operation to only once when taking photos or testing,
?demo=1Please switch to demo mode.
Operating Procedure
1. EC Mode: Morning Order Review
- Switch to EC mode at the top of the screen.
- Select Mall (e.g., Rakuten), and set the time period preset to Today.
- Check the list to see orders from last night to this morning.
- If necessary, select multiple items and press F5 to send a bulk shipping notification.
- Cancel any problematic lines with F7.
Example dialog box for manually importing a CSV file obtained from the EC administration screen:

The correspondence between EC product codes and our company's product items is managed using EC item mapping. Unmapped rows can also be identified and corrected from the Order Hub.

2. EDI Mode: In-depth analysis at the log level
- Switch to EDI mode
- Select EDI Log
- Or bookmark the URL
/app/ec-order-workbench?mode=edi&log=EDI-LOG-XXXLaunch directly from - Check the details of the source log in the log information bar.
- Open the full EDI log by pressing F6 on the problematic line to investigate the cause.
3. FAX Mode: Checking for Low-Reliability Cases
- Switch to FAX mode.
- Cases with low reliability will have a red or yellow badge displayed in the details row.
- Clicking a row will take you to the FAX OCR isolation screen.
- After visual confirmation, approve or reject the item on the quarantine screen.
4. Manual Mode: Overview of manually entered orders
- Switch to Manual mode.
- Select "This Week" or "This Month" in the time period preset. 3. Individual Order Entry The orders entered are listed.
- Overview to check for duplicates and input errors.
5. All Modes: Cross-sectional review of all routes
- Switch to All mode
- Color-coded display by route in the source column.
- Effective for matching orders when the same customer places orders through multiple channels (e.g., e-commerce + EDI).
- Canceling (F7) or deleting (F9) from this point onward works in all modes.
Candidates for consolidating multiple orders from the same customer in a short period of time:

The imported order will be saved as an order received. Example of conversion confirmation display:

6. Forecast Mode: Editing the Cell Range for Demand Forecast
The forecast mode is separate from the order review system and is a screen for manually adjusting demand forecasts.
- Switch to Predictive mode at the top of the screen.
- Access the input screen from the guidance card at the top of the screen.
- Predicted quantities are displayed in a grid by route and item.
- Select a range of cells by dragging, as in Excel.
- Apply the changes using the batch adjustment buttons at the top (+5% / +10% / -10% / Custom % etc.).
- Individual cells can be edited directly by double-clicking.
- When saved, it will be registered as a demand forecast. Demand forecasting (AI) But it is still accessible.
URL Parameters
This screen accepts several URL parameters and can be launched directly under certain conditions.
| Parameters | Effects | Examples |
|---|---|---|
mode | Specify mode | ?mode=edi |
log Filter by EDI log unit | ?mode=edi&log=EDI-LOG-20260421-0001 | |
demo | Demo Mode (Suppresses external API calls) | ?demo=1 |
By including a direct link to the log in the Slack notification for EDI import errors, the person in charge can access the relevant log with a single click.
Permissions and Roles
| Role | Permissions |
|---|---|
| All logged-in users | Screen viewing |
| Sales Representative | Order Confirmation/Details Reference |
| Sales Manager | Shipping Notification (F5) / Bulk Operation |
| System Administrator / Demo Operator | Write and delete operations such as Cancel (F7) and Delete (F9) |
Anyone who is logged in can access the screen, but actual operation depends on the order-taking authority.
Required settings beforehand
EC Mode
- EC settings (connection information and CSV rules)
- EC item mapping (EC product code ↔ company's own item)
- EC CSV matching rules
EDI Mode
- EDI import and EDI import log settings
- Import mapping by business partner
FAX mode
- FAX template registration
- Setting the confidence threshold for FAX OCR
Prediction Mode
- Setting demand forecasts (forecast parameters)
- Classification of route/item master
- Installing the prediction library
Points to note regarding operation
- Some filtering is reset when switching modes — Switching from EC to EDI disables mall filtering and displays customer filtering.
- Bookmarkable via URL parameters — The URL changes depending on the mode + log combination, so bookmarking frequently used filters is recommended.
- Demo Mode —
?demo=1This suppresses external API calls (preventing contamination of production data). - Caution regarding duplicate shipping notifications — The behavior when pressing F5 multiple times for the same order depends on the e-commerce platform. It is safest to press it only once when taking a photo.
- FAX Reliability Badge — Faxes with low reliability are displayed in red or yellow as a warning (e.g., 42 points, 85 points).
- Selecting a cell range for prediction — Excel-style drag selection. Primarily mouse operation.
Tips for Use
- Morning Routine: Check the number of items in EC mode × "Today" → Select all → 30-second routine of pressing F5
- Converting EDI logs to URLs: For Slack notifications
?mode=edi&log=EDI-LOG-XXXPasting this will allow you to reach the relevant log with one click. - Duplicate detection in all modes: Makes it easier to notice simultaneous EC + EDI orders from the same trading partner.
- Rehearse in demo mode: When training new members
?demo=1This allows you to safely learn how to behave. - Prediction adjustments should be made in small increments: Repeated small adjustments of +5% / -5% tend to stabilize accuracy.
FAQ
Q: I accidentally pressed F5 (shipping notification) multiple times.
How duplicate shipping notifications are handled depends on the e-commerce platform's implementation. Rakuten and Amazon tend to handle duplicates by logging them as a warning, but this has not been confirmed for MakeShop/GoQ. Please check the notification status on each e-commerce platform's management screen.
Q: I opened the EDI log, but the orders are not being displayed.
One of the following applies:
- The source log is stuck at Error instead of Processed → Check the cause on the EDI log screen.
- The time period preset is incorrect → Even if you start it with "Today" selected, the order date may be several days ago.
- Customer filtering is still active → Clear the filtering
Q: The values in prediction mode are not automatically filled in.
The forecasting library may not be installed, or the demand forecast settings may not be registered. Please contact the administrator. Demand forecasting (AI) Please request maintenance.
Q: I want to confirm an order without sending a shipping notification.
It's fine to confirm directly without pressing F5. However, since the e-commerce platform won't receive the "shipped" status, the customer will not receive a shipping notification email from the e-commerce platform. If you want to send the email, please press F5.
Q: Should I check all items with a "red" badge in FAX mode?
Yes. Because misreading of text is likely to occur, red = must be visually checked, yellow = check just in case, and green can be sent for automatic approval without any problems.
Q: If I cancel all modes at once (F7), will all modes be deleted?
Yes, it will be executed on the rows selected with the checkboxes. Since this is a row-level cancellation, not a mode-level cancellation, please carefully filter your selections before checking the boxes to avoid accidental actions.
Other linked screens
- Upstream intake: EDI import / FAX Order / Individual Order Entry
- Downstream shipment: Shipping slip Shipping Schedule List
- Predictive linkage: Demand forecasting (AI) / Demand calendar
- Overview of progress: Order progress board
Next Steps
- Shipping entry → Shipping slip
- Overview of progress → Order progress board
- Invoice issuance → invoice
- Demand forecasting mechanism → Demand forecasting (AI)
- Overall picture of sales operations → Sales workflow